Integration of Zaptec AC charging station into the Eponet portal
These instructions are step 3 for connecting a Zaptec charging station to the Eponet portal.
Step 1 can be found at this link: Basic instructions for integrating charging stations
 |
Software versions for Zaptec charging stations. ISO-15118 is possible from a hardware perspective as of 02/04/2025, but has not yet been implemented in the software.
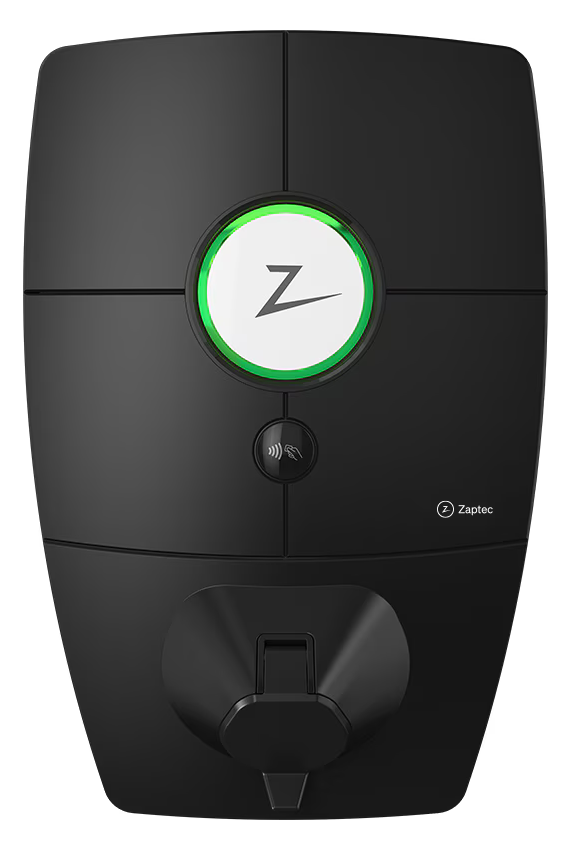
PIN – A PIN is included with the charging station. You will need this for connection and configuration. |
Preparing the charging station via the Zaptec portal
The Zaptec charging station is configured via the Zaptec portal. Log in to the Zaptec portal, select the desired installation and configure the Zaptec portal according to the manufacturer's instructions.
Once the Zaptec system has been configured, you can switch the installation to the Eponet OCPP server. To do this, go to Settings > Authentication: OCPP-J 1.6 Authentication and copy the following link into the URL field:
wss://ocpp.eponet.io/1.6J/AD59/{deviceId}

Important:
Make a note of, or even better, copy the serial number of your Zaptec charging station (e.g. ZPRxxx). You will need this serial number later in the Eponet Portal.
You can easily copy it from any charging station.
Please ensure that the first and third controls are set correctly as shown above. Please note that Eponet is not responsible if the charging station is configured incorrectly and, for example, offline charging is permitted, resulting in incorrect billing in the Eponet portal.
From this point on, the installation is connected to the Eponet OCPP server (all charging stations in this installation are connected to Eponet).
Checklist:
-
Authentication required > must be enabled
-
Deactivate authorisation when the charging stations are offline > must not be activated
-
Is the charging station online on the Eponet portal?