This article describes how to assign a created authorisation profile to another person so that they can access your account.
Select "Dashboard - My contacts" in the left-hand blue column. [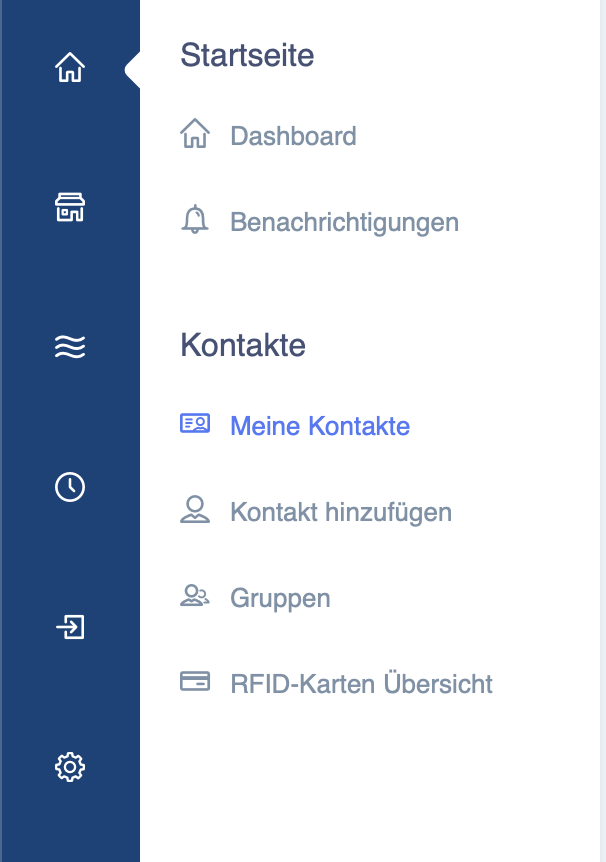](https://wiki.eponet.ch/uploads/images/gallery/2025-01/bildschirmfoto-2025-01-17-um-10-29-48.png) Select the contact to whom you want to assign the authorisation. Go to the "Authorisation Profile" tab as shown below.The user's email address must match the email address they used to register on the Eponet portal.
[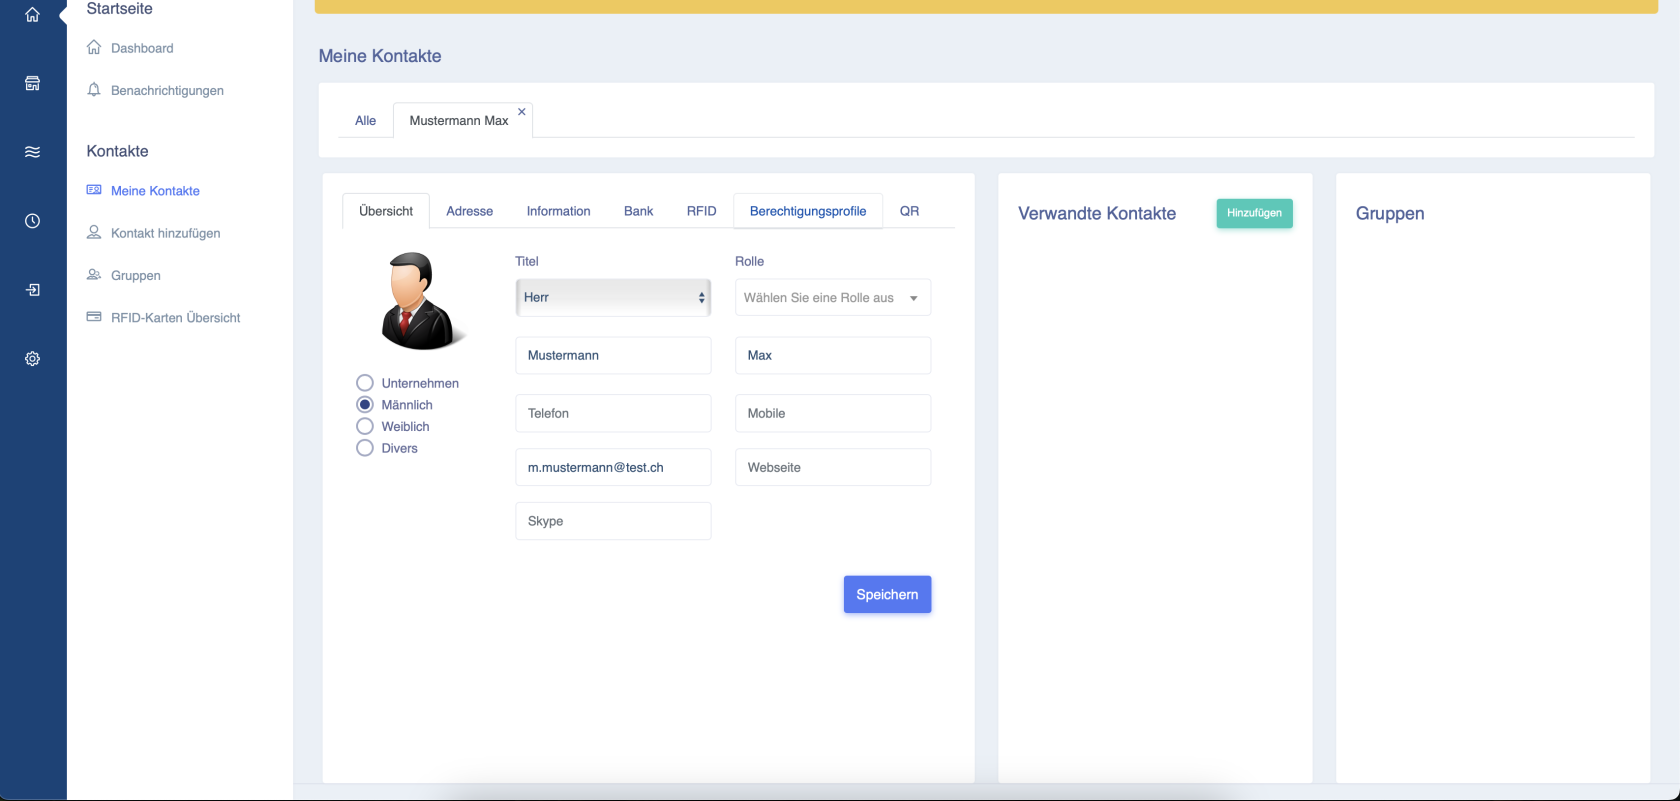](https://wiki.eponet.ch/uploads/images/gallery/2025-01/bildschirmfoto-2025-01-17-um-10-32-02.png) Here you can now select the authorisation you created earlier and save it. [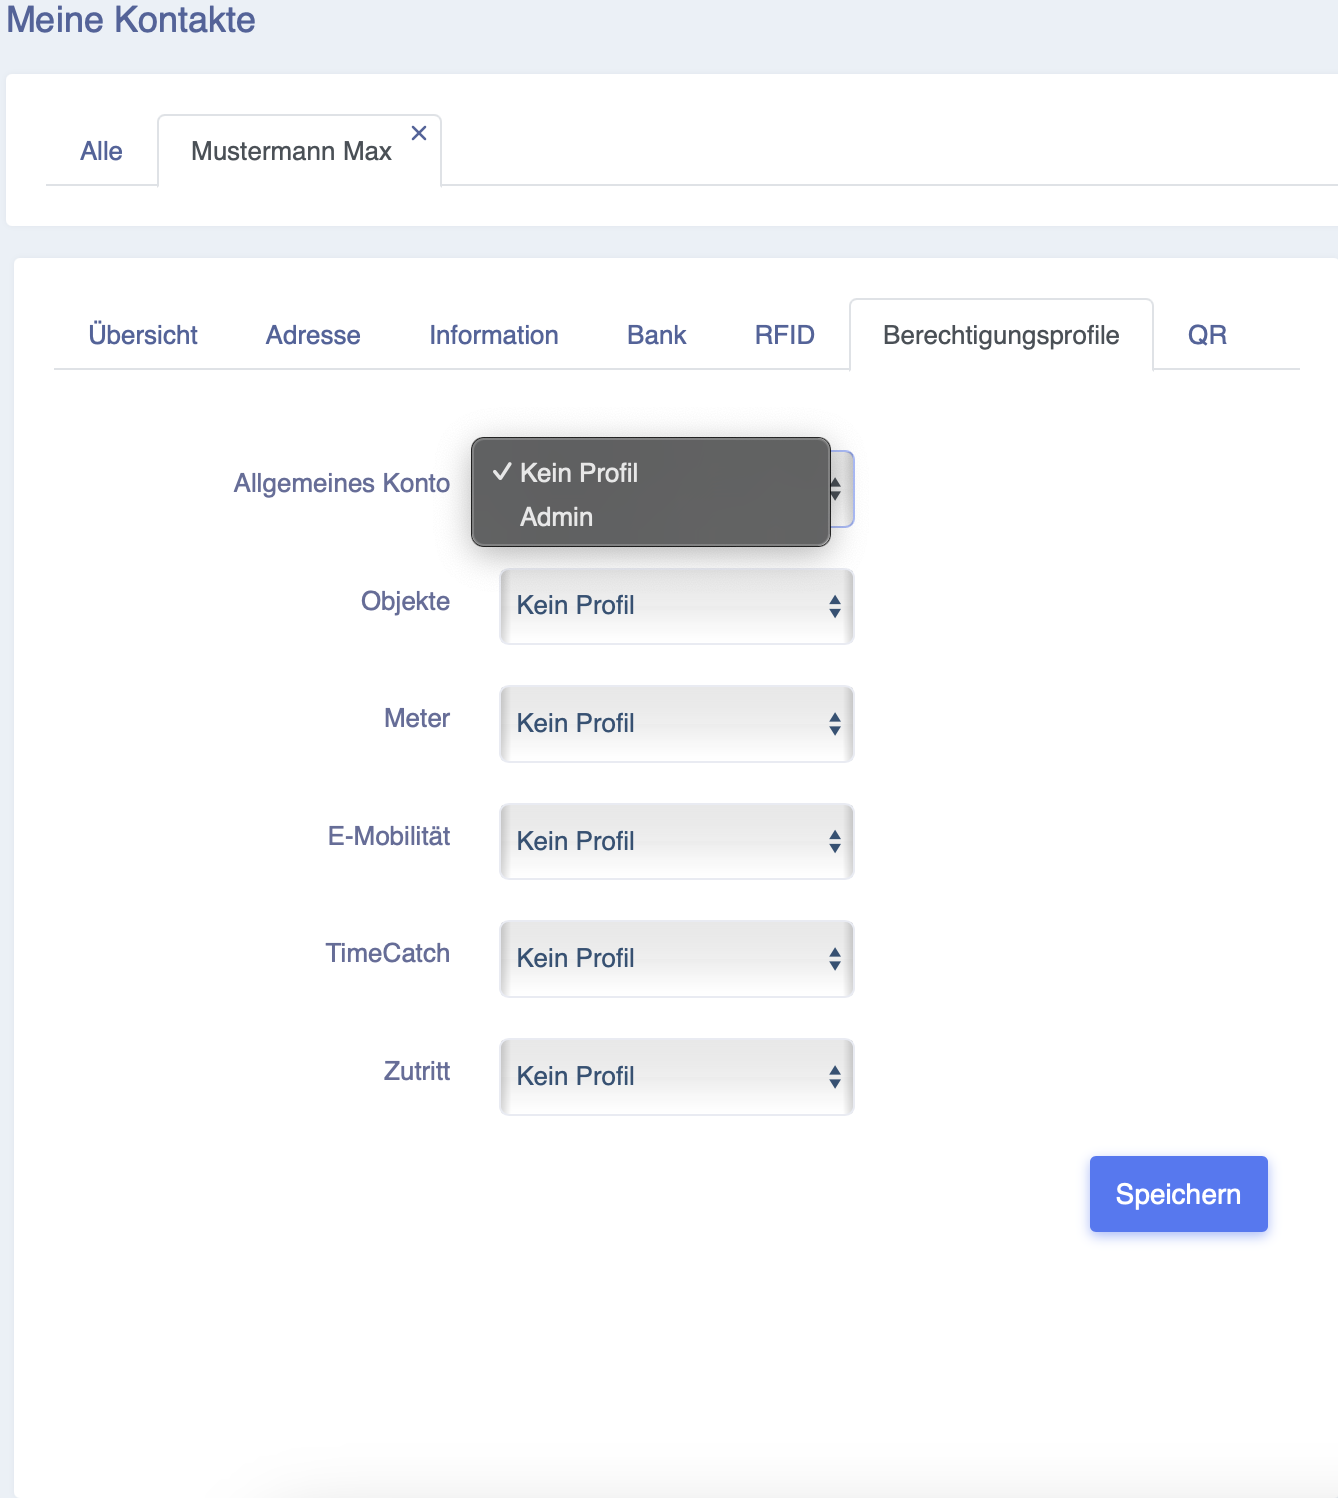](https://wiki.eponet.ch/uploads/images/gallery/2025-01/bildschirmfoto-2025-01-17-um-10-32-19.png) The user of the account to which you have now granted authorisation can now access your account from their account by clicking on the black bar (their account name) visible below. [](https://wiki.eponet.ch/uploads/images/gallery/2025-01/vEhbildschirmfoto-2025-01-17-um-10-43-43.png)