This article describes how to create an authorisation profile so that another Eponet account can access the creator's account in a second step.
First, click on "Settings" in the blue bar on the left-hand side and then on "Authorisation profiles". Then click on "Add". [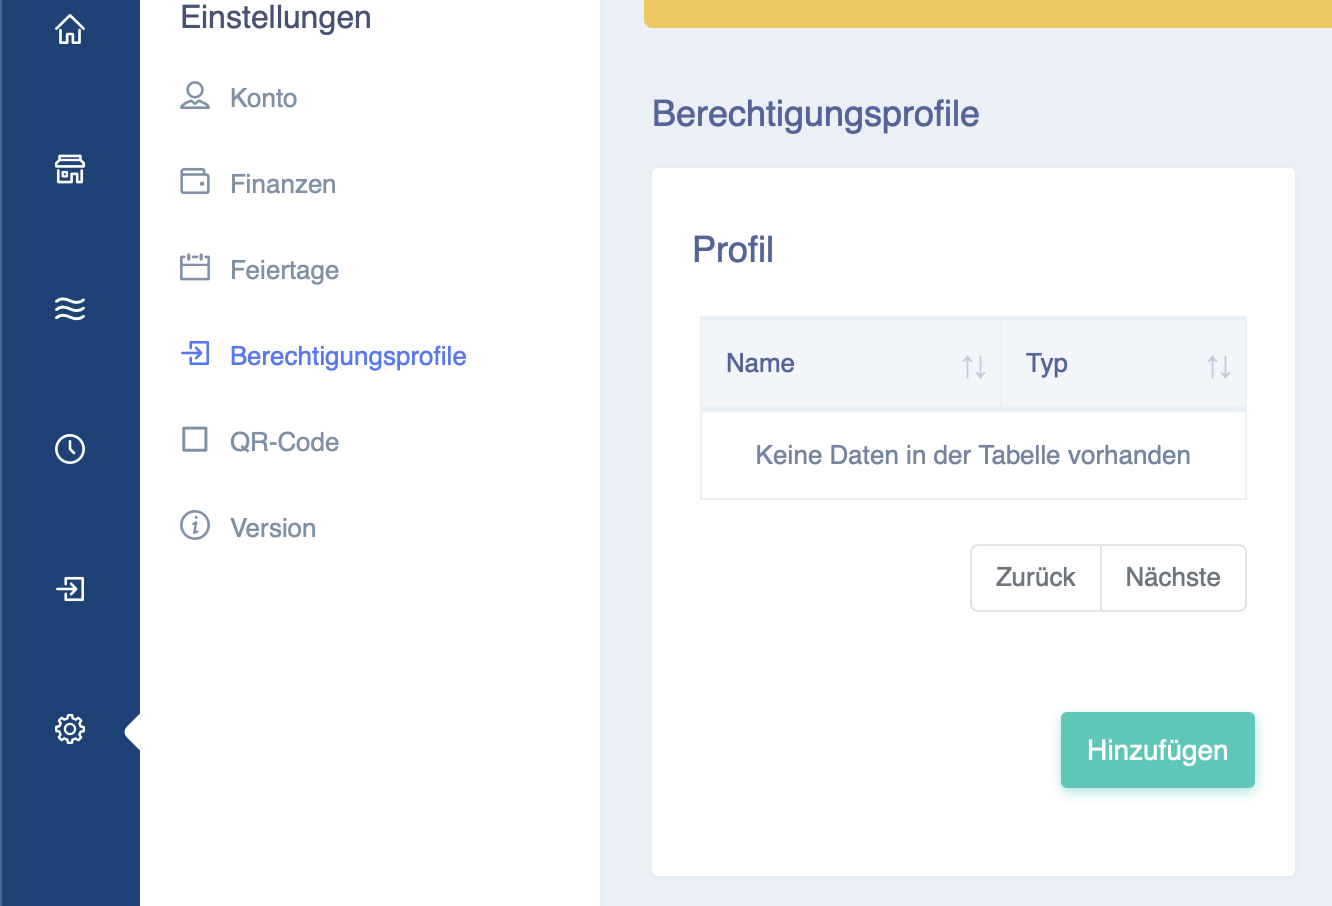](https://wiki.eponet.ch/uploads/images/gallery/2025-01/bildschirmfoto-2025-01-17-um-10-28-21.png) After clicking on Add, a new window will open. Here you can now enter a name for the profile. In the example shown, the profile is called "Admin". [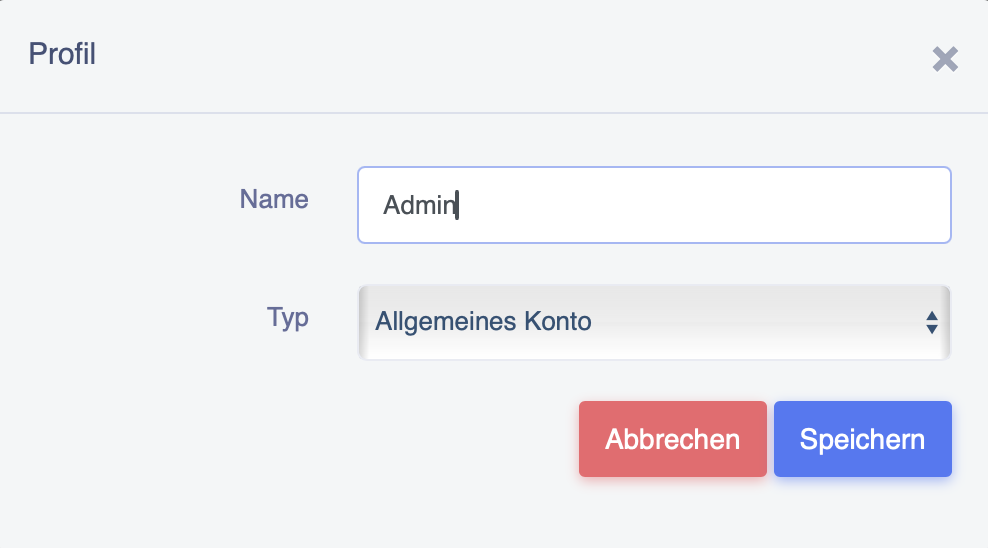](https://wiki.eponet.ch/uploads/images/gallery/2025-01/bildschirmfoto-2025-01-17-um-10-29-00.png) Now you can click on "General Account" and the window shown below will open. Here you can select what the profile should have access to. [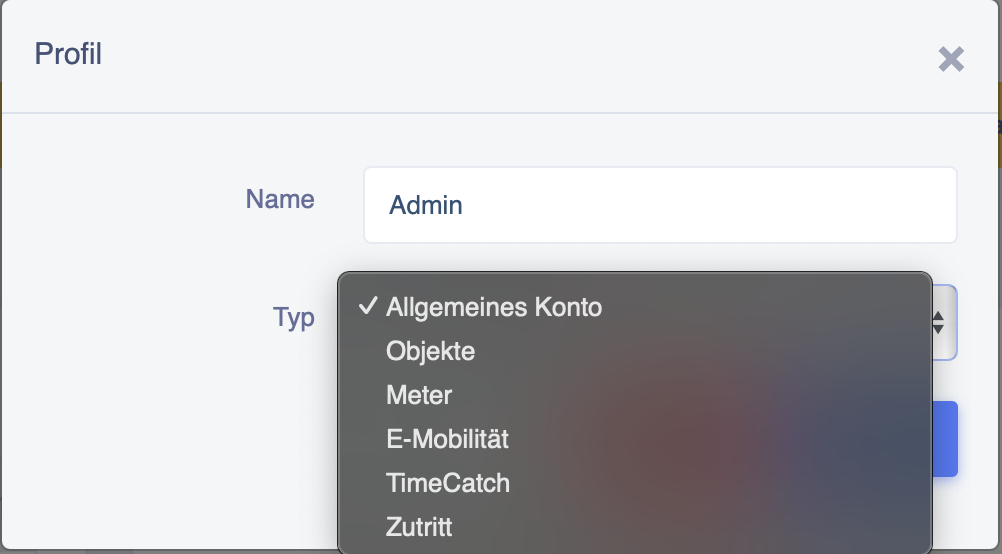](https://wiki.eponet.ch/uploads/images/gallery/2025-01/bildschirmfoto-2025-01-17-um-10-28-41.png) Now press Save and the profile will be created and displayed accordingly. You can now click on it and configure it as shown below.The "Super User" option grants full account access with all options, including finances.
[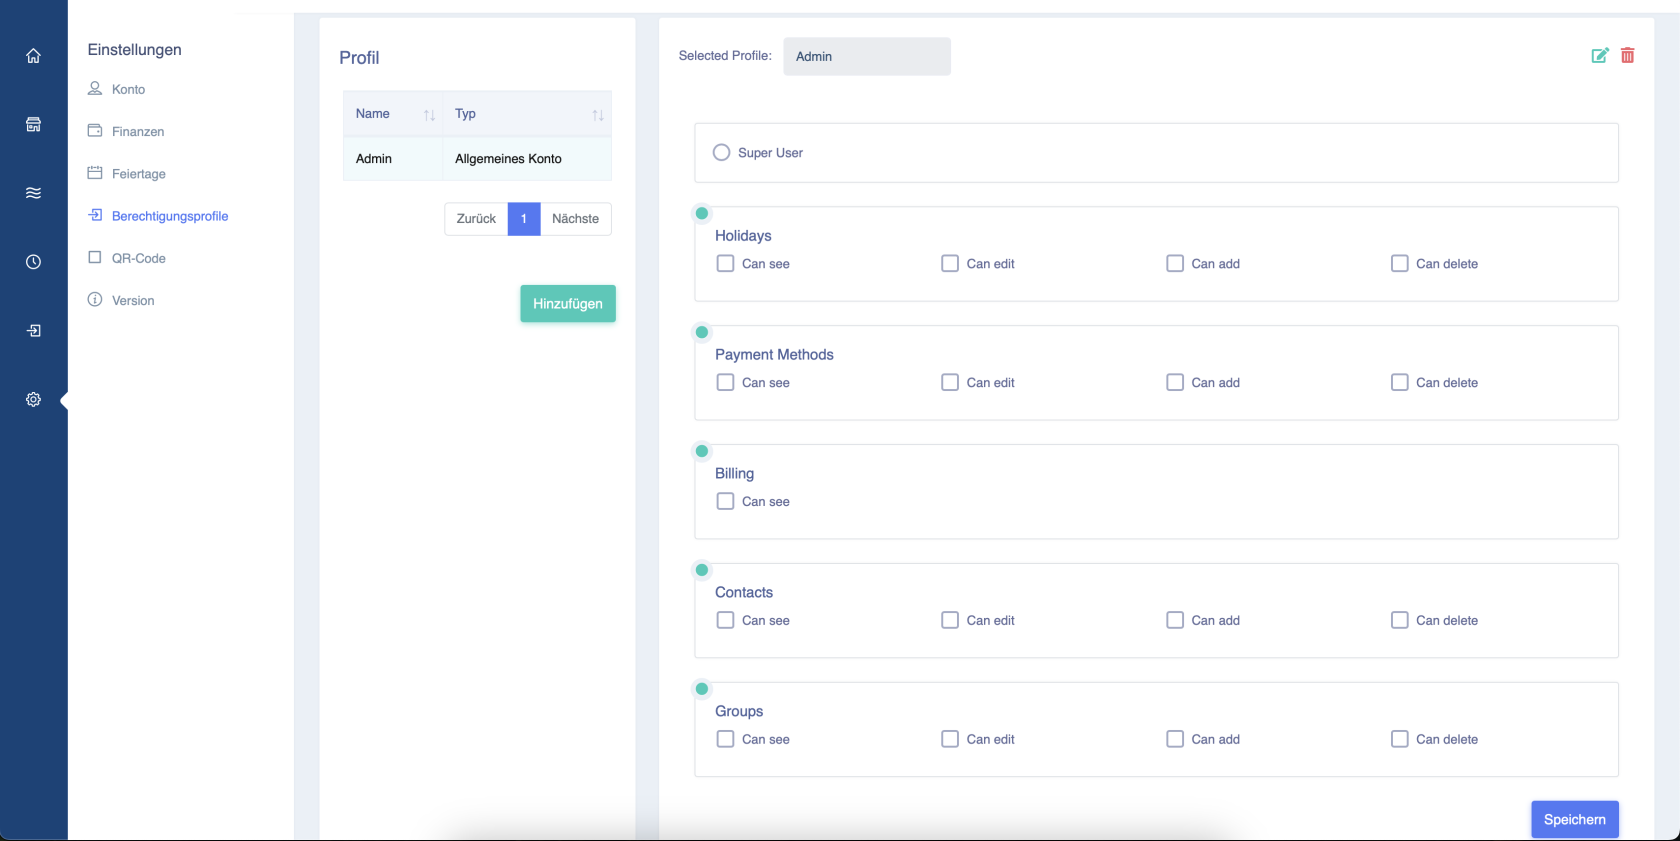](https://wiki.eponet.ch/uploads/images/gallery/2025-01/bildschirmfoto-2025-01-17-um-10-29-19.png) Once you have finished configuring the profile, press Save and the profile will be successfully created.